
Virtual Home Lab Setup for Cybersecurity - Part 9: Ubuntu & Splunk
Part 9: Setting up Ubuntu and Splunk.

Overview
In this part, we’ll configure Ubuntu & Splunk. To get started, make sure the firewall is running and download Ubuntu from here if you haven’t already.
Ubuntu Installation
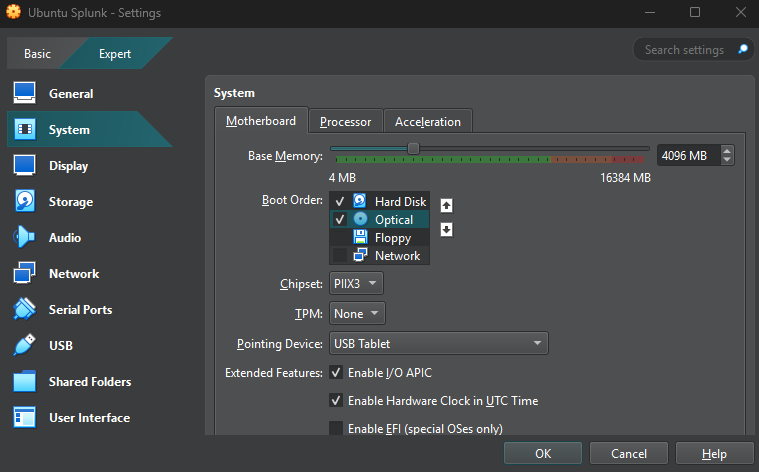
To install Ubuntu, choose “New” from the tools menu in VirtualBox. Give the VM a suitable name, select the ISO image we downloaded and check the “Skip Unattended Installation” button. In the VM settings, change the “Base Memory” to 4096MB and the hard disk size to 100GB. Once the VM is created, open the settings and choose “System”, then “Motherboard”. Make sure the boot order matches the below.
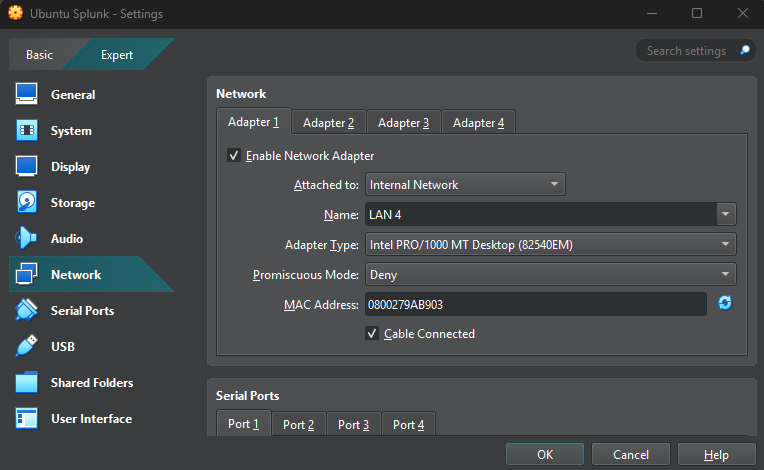
Next, under “Network”, change the type to “Internal Network” on “LAN 4”.
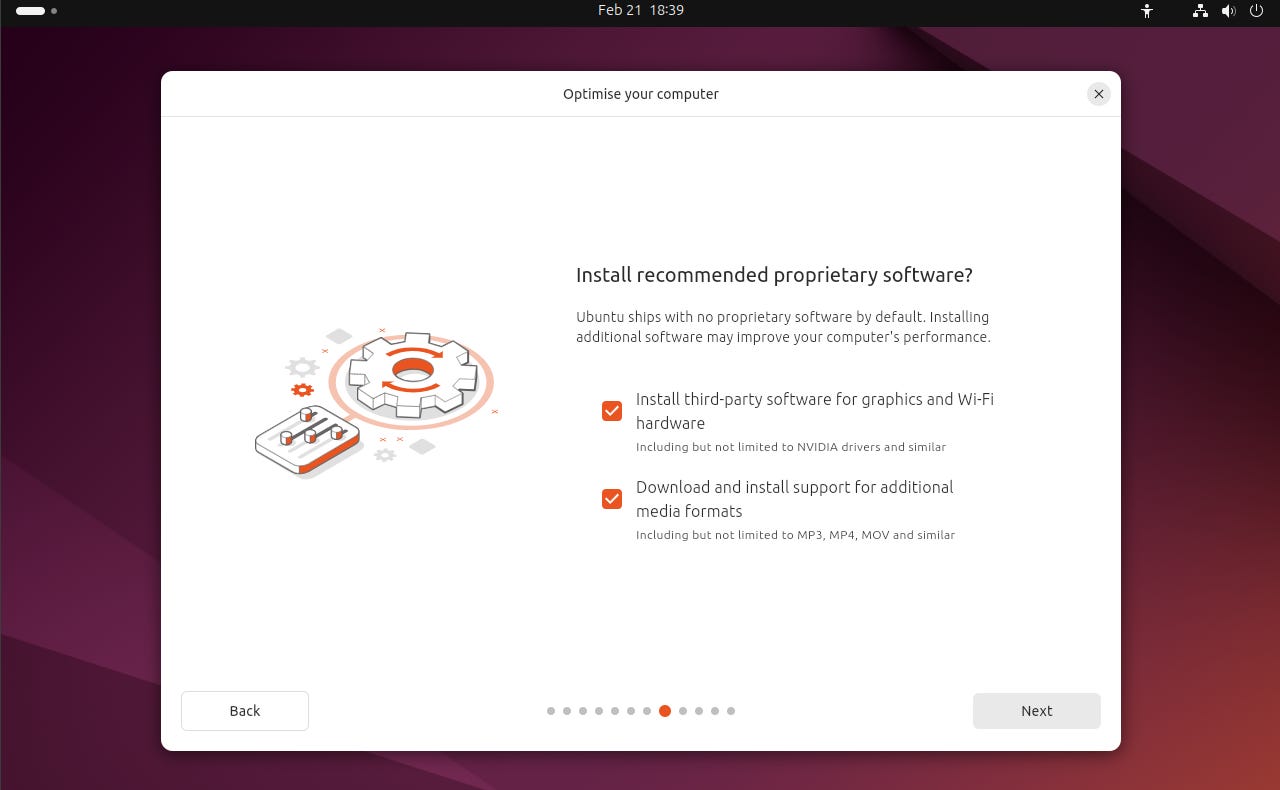
Press “OK” to finalise and start the VM. Once the VM boots, press enter to choose “Try or install Ubuntu”. Proceed through the on screen installation instructions until you reach the “Install recommended proprietary software?” menu, in here, make sure you check the box for “Install third-party software for graphics and Wi-Fi hardware” and “Download and install support for additional media formats”. Continue following the installation instructions.
When prompted, set your username and password and continue installing. Restart the VM when prompted to finish installing. When prompted, press “Enter”, VirtualBox will automatically remove the installation media.

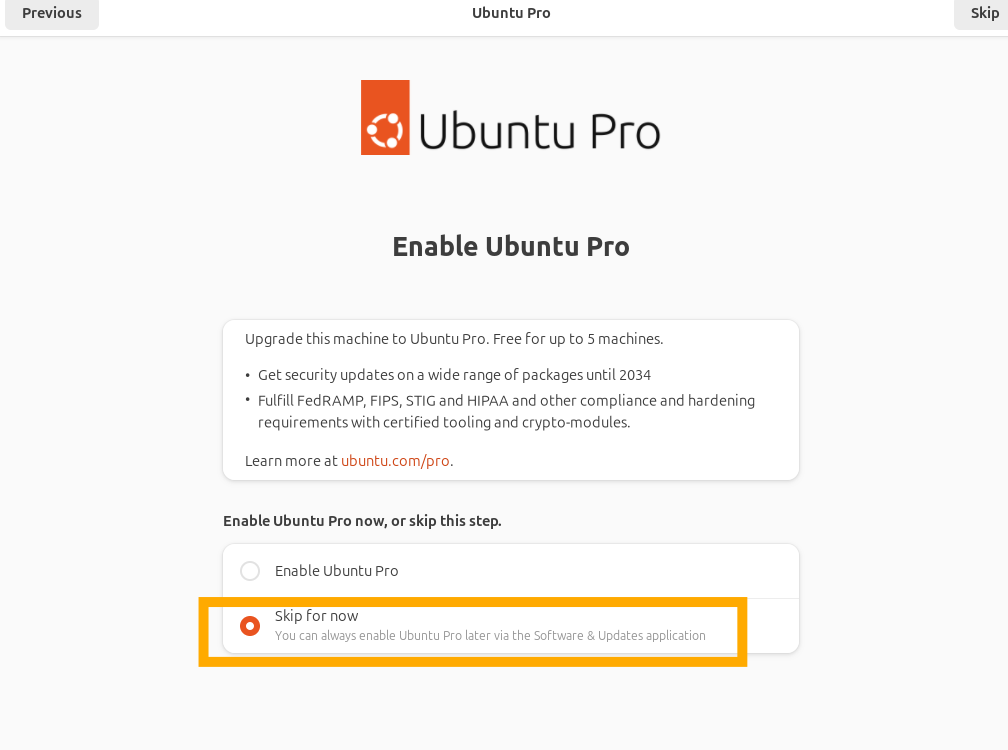
When the device restarts, choose to skip enabling “Ubuntu Pro”.
Next, choose to not share system data, then finish setup. To get the guest additions setup, choose “Devices” and “Insert Guest Additions CD Image” from the toolbar. Click the disk icon on the dock to view the disk content.
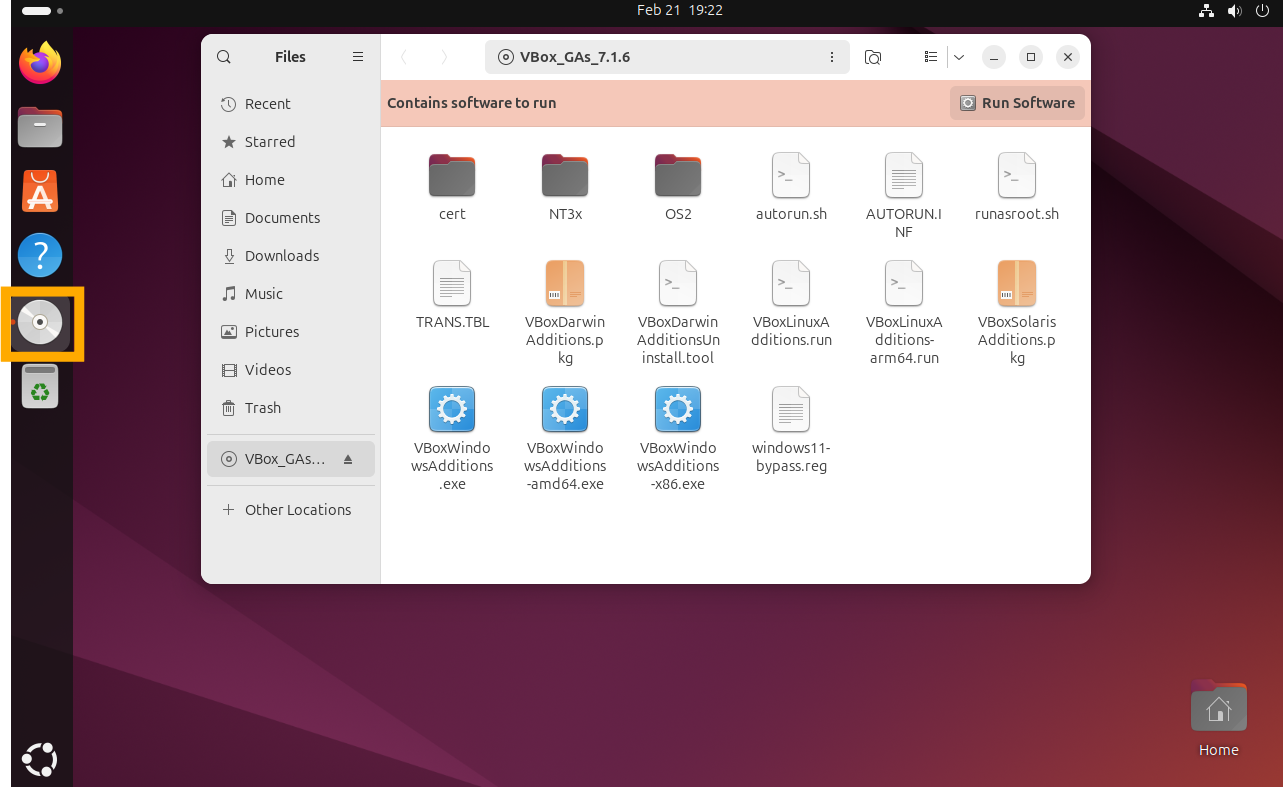
Right-click any blank space and choose “Open in Terminal”. In the terminal run the following command:
sudo apt install bzip2 tar
sudo ./VBoxLinuxAdditions.run
Once complete, right-click the diskicon and choose “Eject”. Now update the system fully by running the following command in terminal:
sudo apt update && sudo apt full-upgrade
Now that this is complete, we should take a snapshot of the machine in a clean state. See the instructions to take a snapshot back in Part 7 if you don’t remember.
Splunk Installation
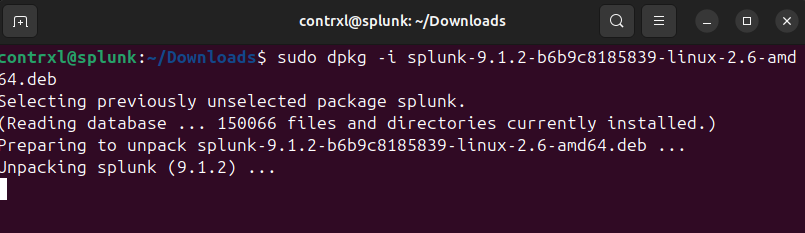
If you haven’t already, download Splunk v9.1.2 from here. Alternatively, you can visit the Splunk website directly and sign up for the latest version, however, for this series, I’ll use the direct download. Once you’ve downloaded the file, open a terminal and enter cd Downloads to move into your downloads folder. Before installing Splunk, we need curl, so run sudo apt install curl. When this finishes, run sudo dpkg -i splunk.9.1.2-b6b9c8185839-linux-2.6-amd64.deb to install Splunk.
Wait for the install and unpack to finish. When the installation is complete, run the command sudo /opt/splunk/bin/splunk start --accept-license --answer-yes. You’ll be prompted to set a username and password for Splunk, and once you do so, you should see Splunk start running on your local IP address.
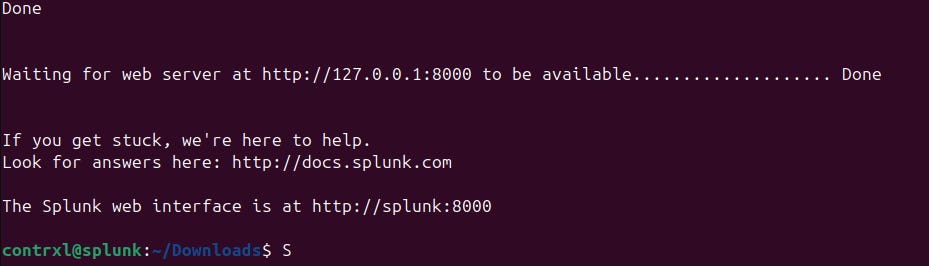
If you want Splunk to run at startup (which I do), you’ll need to run the following command after initial setup: sudo /opt/splunk/bin/splunk enable boot-start.
Splunk Configuration
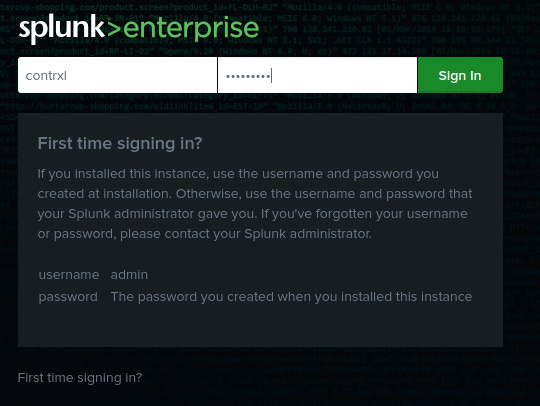
Open up Firefox, and head to http://127.0.0.1:8000. Login using the credentials we created previously.
From the dashboard, choose “Settings” in the top right and then “Forwarding and receiving”.
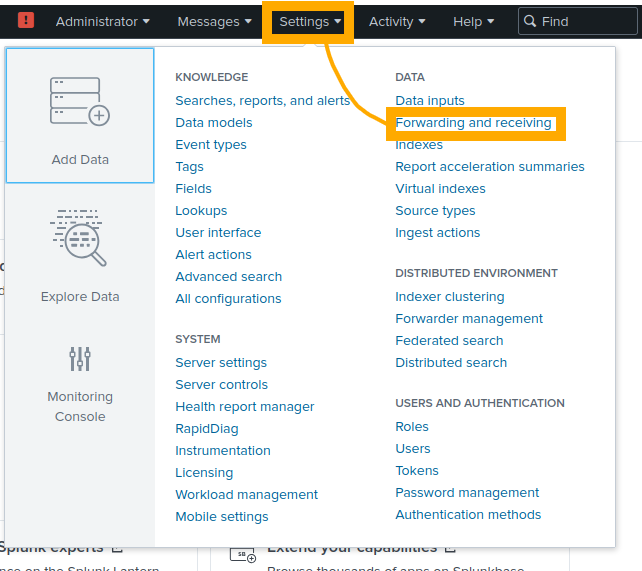
On the “Forwarding and receiving” menu, choose “Add New” under “Receive Data”.

For the listening port, enter “9997” and then click “Save”.
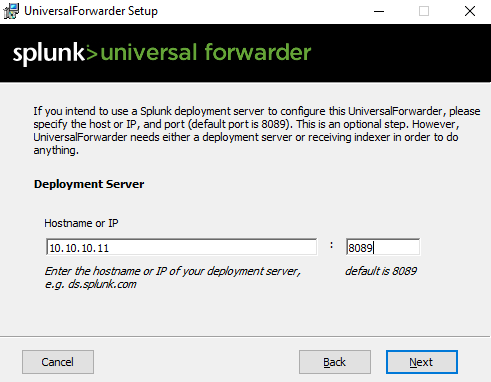
Next, power up the Domain Controller (DC). Download the Splunk Universal Forwarder from here if you haven’t already. Run the installer on the Domain Controller, follow the instructions through the installer. On the “Deployment Server” screen, enter the IP address of your Splunk VM. You can find the Splunk VM IP address by running ip a from the terminal.
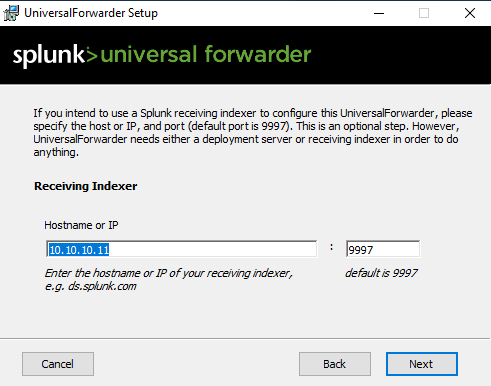
Hit “Next”, on the next window, enter the same hostname for your Splunk VM, make sure that you use 9997 as the port this time.
Click “Next” and then “Install”.
Configuring Data Ingestion
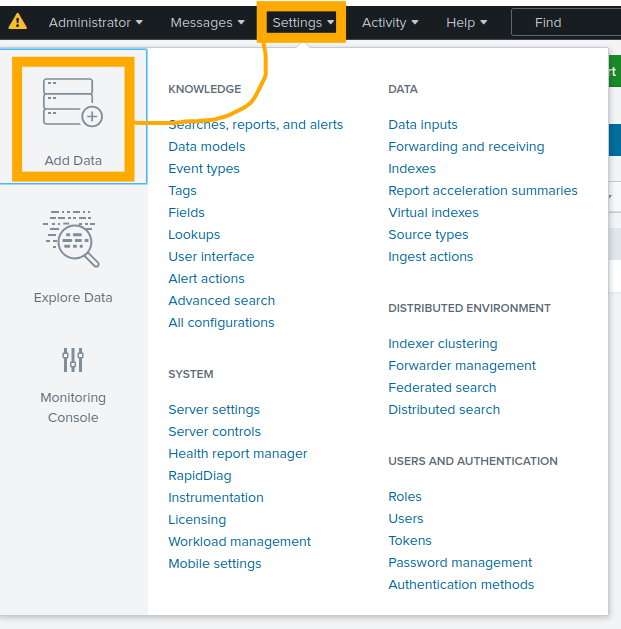
Now that Splunk and the forwarder are set, we will configure data ingestion. To do this, go back to the Splunk interface on your Ubuntu VM and choose “Settings” and then “Add Data”.
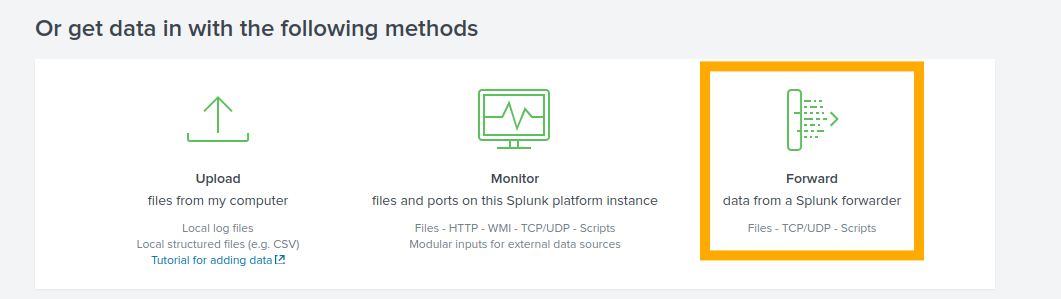
Click “Skip” when prompted to take the tour. In the bottom right, click “Forward”.
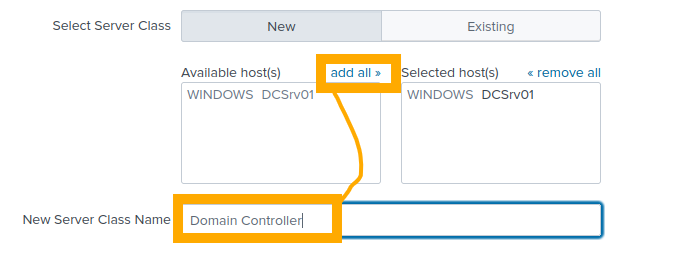
Press “Got it!” on the prompt that appears. Our DC should be visible in here already, click “Add All” to add the DC and give it a suitable name.
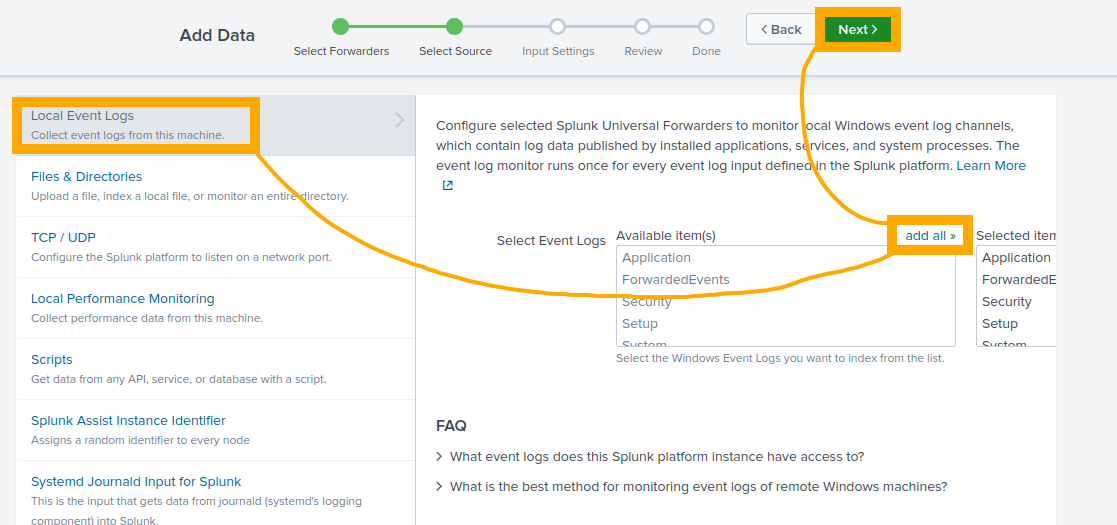
Click “Next” in the top right, choose “Local Event Logs” as the source data. On the right-hand pane, click “Add All” to add all event logs. Click “Next” when done.
In “Input Settings”, click “Create a new index”. Give the index a suitable name, leave all other values the same. On the final “Review” tab, your settings should look as below:
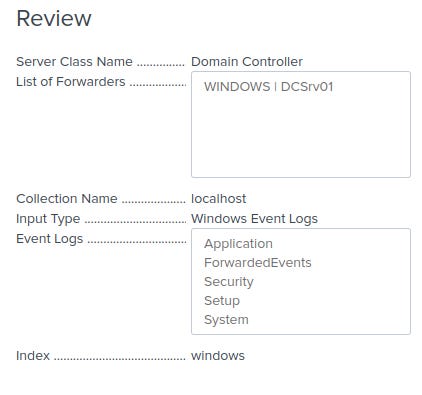
Your “Index” and “Server Class Name” are custom, so these might be different depending on the names you used. Click “Submit” to confirm.
Searching the Logs
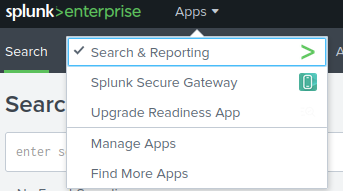
In Splunk, choose “Apps” then “Search and reporting”.
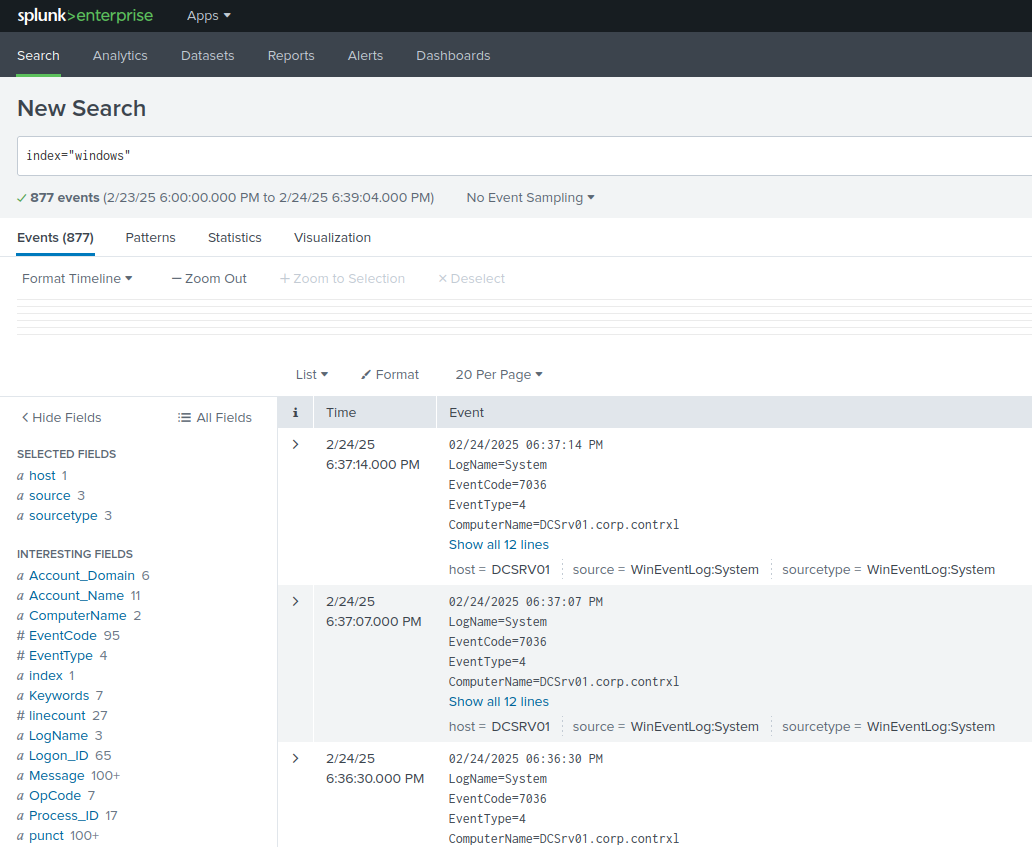
In the search query bar, type index=”windows”. This should show all event logs returned from our Domain Controller. If its blank, wait a few minutes and try again. Performing actions on the DC can also help, such as changing settings or opening applications.
Now, power down the Ubuntu machine and the DC and take a new snapshot of each. Make sure to give the snapshot a suitable name, mine are “Clean Install (Splunk)” on both VMs.
That’s our AD lab and Splunk forwarder now fully configured! In the next part, I’ll go through setting up some intentionally vulnerable VMs. If you want to make your own AD lab intentionally vulnerable, I’ll write about that at a later date!