
Virtual Home Lab Setup for Cybersecurity - Part 5: Configure Windows Server
Part 5 - Configuring Windows Server 2019

Overview
In this part, we’ll configure Windows Server 2019, which will act as our domain controller for four hosts. We’ll configure the hosts in the next part.
Server 2019 Installation
If you haven’t already, download Server 2019 from here. In VirtualBox, choose “New”, name the machine appropriately and pick the ISO image you downloaded. Check the box for “Skip Unattended Installation”. Under the “Hardware” tab, change the “Base Memory” to 4096MB. Under the “Hard Disk” tab, change the hard disk size to 100GB. Press “Finish” to confirm.
Once created, select the VM and then “Settings”. Change the boot order to match the below.

Next, choose “Network”, and change the “Attached to:” to “Internal Network”. Change the name to “LAN 2”. Leave everything else as is.

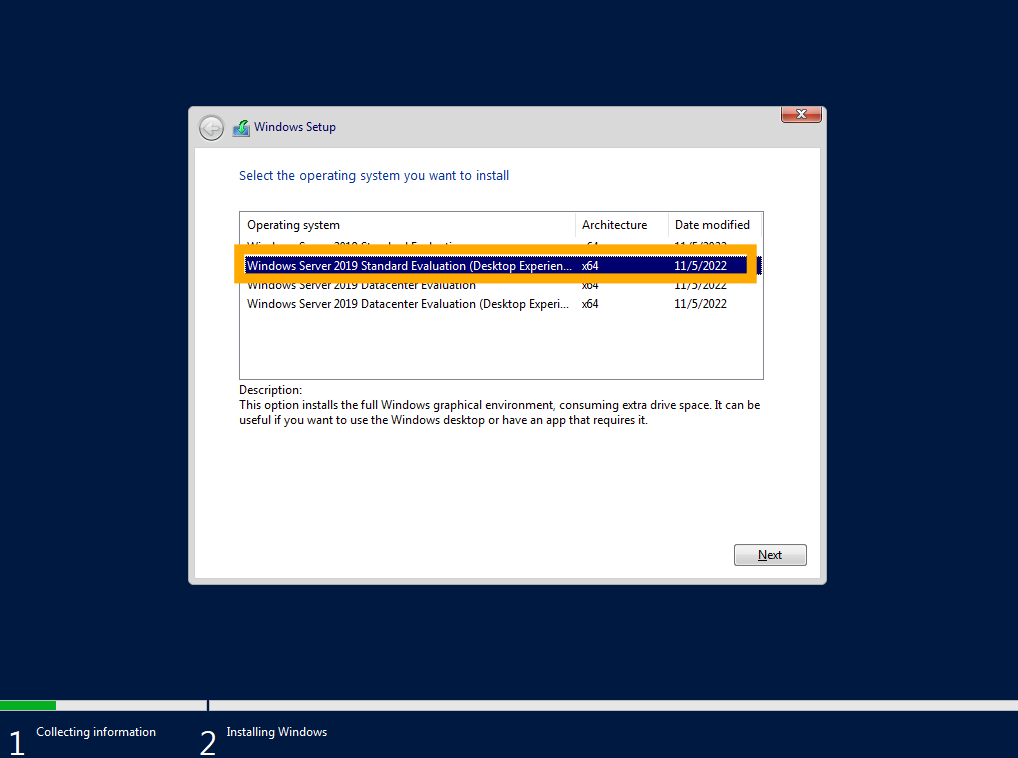
Press “OK” to confirm, and then “Start” to launch the VM. Once it boots, proceed through the on screen instructions. When you reach the “Select the operating system” choice, choose “Windows Server 2019 Standard Evaluation (Desktop Experience)”.
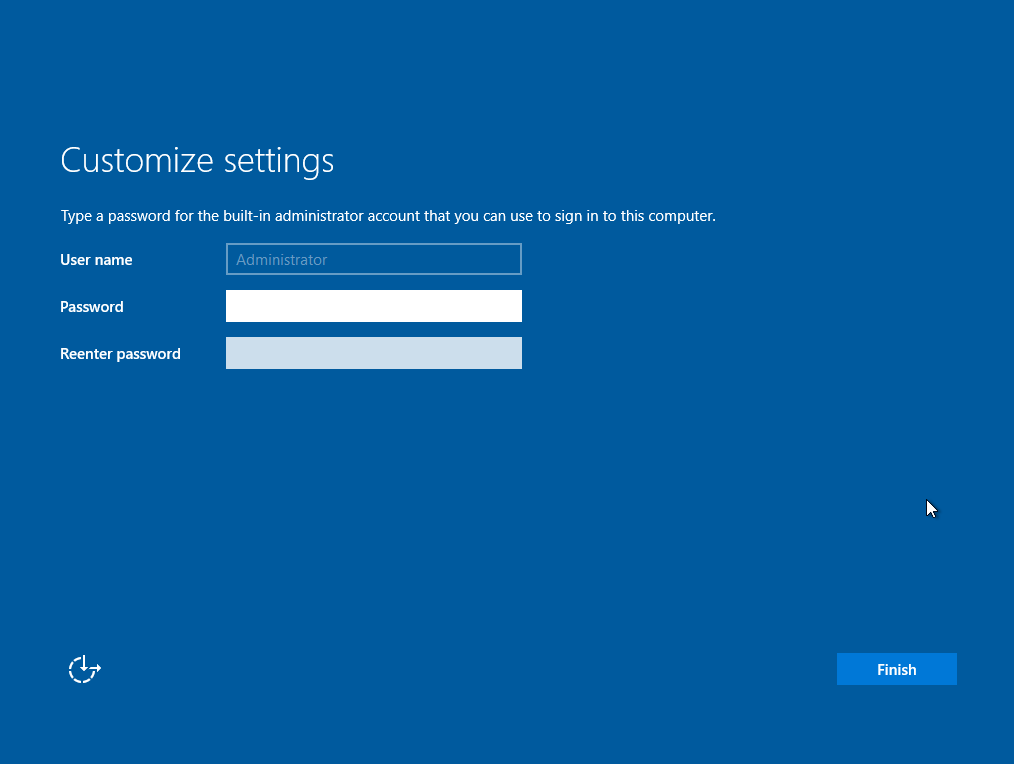
Press “Next” and then accept the license terms. For the “Type of Installation”, choose “Custom: Install Windows Only (Advanced)”, on the next screen, simply press “Next” to continue. The installation should now begin, the machine may restart during the process. When the installation has completed, set your administrator password and press “Finish” to finalise.
Once you get to the unlock screen, press RCTRL+DEL to unlock. This is the default VirtualBox key combination for CTRL+ALT+DELETE.
Guest Additions
Windows does not automatically install Guest Additions, so we’ll do this manually. In VirtualBox, select “Devices”, then “Optical Drives” and “Remove Disk from Virtual Drive”. Then, select “Devices” and “Insert Guest Additions CD Image”.

Now, on the server, open “File Explorer” and browse to the newly added disk. Double click “VBoxWindowsAdditions” to run it. Follow the guided installer to complete the installation. At the end, you will need to reboot. After rebooting and a couple of minutes of waiting, you should now be able to fullscreen with RCTRL+F.
Network Setup & Renaming Device
On the server, click “Don’t show this message again” and close the prompt that has appeared.

To get the network configured, click on the network icon in the bottom right, then “Network & Internet Settings” and “Change Adapter Options”.

From here, right click the “Ethernet”, choose “Properties” then “Internet Protocol Version 4 (TCP/IPv4)”. In the window that opens, select “Use the following IP address” and use the below settings and press “OK” to confirm:
IP Address: 10.80.80.2
Subnet Mask: 255.255.255.0
Default Gateway: 10.80.80.1
Preferred DNS Server: 10.80.80.2

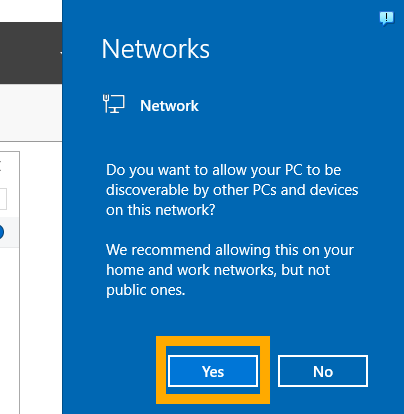
Shortly after pressing “OK”, you should get a popup asking to allow your PC to be discoverable. Choose “Yes”.
Now, to rename the PC, search for “Rename” in the Window search bar. Choose “View Your PC Name” from the options. In the settings menu that appears, click “Rename this PC”. Give it a memorable name, click “Next” and then “Restart Now”.

AD & DNS Installation
To begin, select “Manage” and then “Add Roles and Features” from the server manager. In the next screen, hit “Next” until you reach the “Server Roles” page.

On the “Server Roles” page, select “Active Directory Domain Services” and “DNS Server”, after you select each one, press “Add Features” to confirm.

Keep clicking “Next” until you reach the confirmation page, then click “Install” to start the installation. Once the installation is complete, press “Close”.
Active Directory Setup
To get started setting up AD, select the flag in the top right of the Server Manager, and choose “Promote this server to a domain controller”.

In the window that appears, choose “Add a new forest”, and give it a root domain name. Mine is called “corp.contrxl”, you can use whatever you like. Keep in mind all DNS names must be unique and fully qualified, they must consist of one or more labels divided by a period. Once you’ve chosen your name, click “Next”. In the “Domain Controller Options” set a “Directory Services Restore Mode” password and click “Next”. Continue clicking “Next” until you reach the “Prerequisite Check” section. Press “Install” and let the process complete, once done, you’ll need to reboot.

DNS Setup & DHCP Installation
This server will act as both our DNS and DHCP server for devices on the corp.contrxl network. To configure DNS, we need to setup a forwarder, this is the device which DNS queries will be sent to if the DC cannot resolve them. We will forward the requests to our pfSense firewall. Click on the Windows icon, select “Windows Administrative Tools” and then “DNS”.

In the next window, choose your server (DCSRV01 in my case), then “Forwarders”. In the new window, choose “Edit” and enter the IP address of our AD interface (10.80.80.1). Press “OK”, then “Apply” and “OK” to confirm.

Now that’s configured, we’ll install DHCP. Go back to server manager and choose “Manage” and “Add Roles and Features”. Click “Next” until you reach “Server Roles”, then select “DHCP Server” and “Add Features”.

Click “Next” until you reach the confirmation page, then click “Install”.
DHCP Setup
When the install is complete, select the flag in server manager and then “Complete DHCP Configuration”.

In the resulting window, press “Next”, then “Commit”, then “Close”. Click the Windows icon, then go to “Windows Administrative Tools” and open “DHCP”.

In the DHCP configuration window, expand your server, right click “IPv4” and choose “New Scope” to open the scope wizard.

Choose “Next” and enter a meaningful name and description. I used “Contrxl Corporate” for the name, and “Default DHCP Scope” for description. Click “Next” and enter the following for the IP address range:
Start IP Address: 10.80.80.11
End IP Address: 10.80.80.253
Length: 24
Subnet Mask: 255.255.255.0

Click “Next” until you reach the “Lease Duration” option. As this is a local virtual environment, we can set this to 365 days. In a real environment, you would set this typically somewhere from 3-5 days. Click “Next” until you reach the “Router (Default Gateway)” option. Enter 10.80.80.1 and press “Add”.

Keep clicking “Next” until you reach the final screen, then click “Finish”.
Certificate Service Installation & Setup
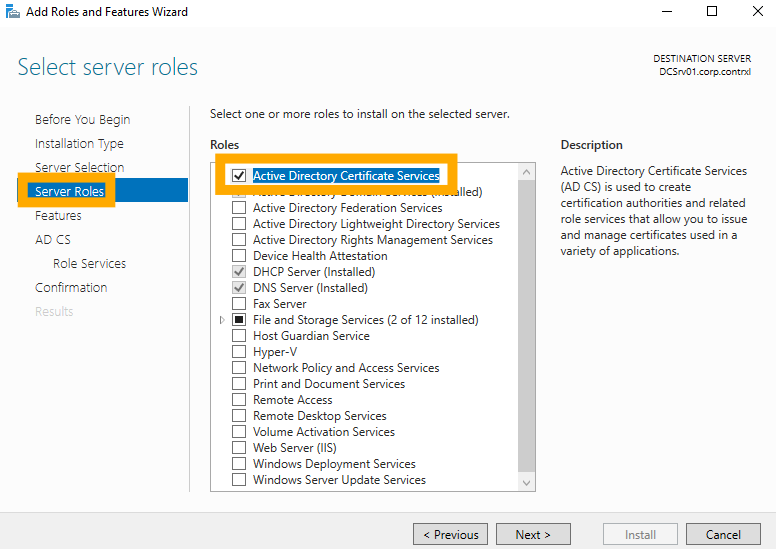
The last part of the server setup will be certificate service installation. Head back to server manager, choose “Manage” then “Add Roles and Features”. From here, click “Next” until you reach “Server Roles”, then choose “Active Directory Certificate Services”. Click “Add Features”.
Keep clicking “Next” until you reach “Role Services”. Here, make sure “Certification Authority” is selected and then choose “Next” and “Install”. Once this is complete, manually restart the server by clicking the Windows logo, then the power icon and “Restart”. Once restarted, click the flag in server manager and “Configure Active Directory Certificate Services”.

In the new window, click “Next”, then enable “Certification Authority”.

Continue clicking “Next” until you reach the “Confirmation” page, here click “Configure” and wait for it to complete. Once done, press “Close”. Now we’re done! Server is fully configured for our needs. Next, we’ll install our Windows VMs. I have 2 Win 10 and 2 Win 11 VMs configured.